The Comprehensive Guide to Reverse Tuck Boxes
Whether you are a baker, photographer, or stationer, reverse tuck boxes provide an effective solution for packaging and shipping your products. They allow you to keep items such as cards, photos and food items securely contained and protect them from harm in transit.
These boxes are incredibly versatile and can be custom designed to meet any requirements you may have, no matter the size or shape of your items.
Furthermore, they require minimal effort to make while offering maximum protection of your goods. When it comes to packaging solutions that offer safety and convenience, few things can compete with the sturdy construction of a reverse tuck box.
In this guide, we will show you how to make a reverse tuck box and provide some tips on how to customize it for your product.
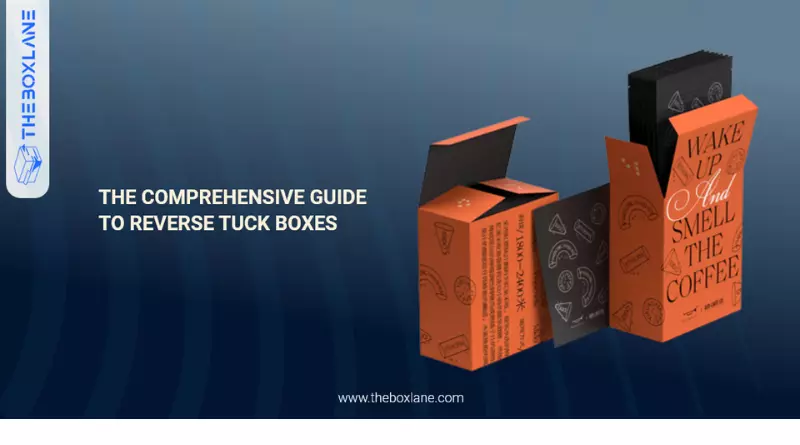
Define a reverse tuck box and its purpose
A reverse tuck box is a packaging solution used for the safe storage and transport of goods. This type of box enables products to be easily stacked, as the flaps are tucked in at the ends, rather than being folded outwards like a traditional tuck box. By hiding the closures on the inside, this type of design helps to maintain the integrity and overall strength during shipping.
Additionally, reverse tuck boxes offer extra security with their lock tab closures that prevent material from spilling out while in transit. They also tend to come with an optional protective seal which helps against moisture and debris that can potentially damage goods during shipment. The features of boxing items securely and safely make them an ideal choice.
Reverse tuck boxes are a popular, simple option for packaging items that require flat shipping, such as cards and invitations. Moreover, they can be easily customized to the size and shape needed to securely hold your product until it reaches its destination.
Furthermore, reverse tuck boxes provide an extra layer of protection compared to other flat-pack styles due to their secure interlocking flaps. This helps keep products protected and safe during transit so that they arrive in perfect condition.
Give a step-by-step guide on how to create a reverse tuck box
Creating a reverse tuck box is an easy and rewarding activity. To get started, you will need 2 pieces of paper; one long and one slightly shorter but equal in size in the other dimensions. Fold the larger piece of paper lengthwise into three equal parts. Then carefully fold all four corners of the smaller piece of the paper inward to meet at the centerfold for a squared-off shape.
Next, slide the smaller piece into the larger so that it fits snugly in place with one side slightly overlapping on each corner. Secure with tape or glue along two sides where they overlap. Finally, gently press down along all scored lines to form your reverse tuck box shape, being sure to secure it with more tape or glue if necessary. With a few easy steps, you can easily create a unique custom-made box quickly.
Share the benefits of using a reverse tuck box
Manufacturers should strongly consider the use of reverse tuck boxes to store and transport their products. Using a reverse tuck box offers numerous advantages such as improved stacking strength, easier save space for transportation, better protection for fragile products against damage during transport, and increased sustainability.
In addition, because of their design, reverse tuck boxes require less space to open compared with other traditional packaging solutions like trays or wraparound boxes. They are also cost-effective and can be used repeatedly before being recycled or reused. All these benefits make reverse tuck boxes an attractive and reliable solution for both large and small businesses.
Offer tips on designing a custom reverse tuck box
Creating a custom reverse tuck box can require careful planning and forethought. To ensure the design of your box meets all the necessary criteria and is aesthetically pleasing, start by researching state and country regulations applicable to box design.
Once you have thoroughly researched your requirements, take time to consider the size, shape, color and materials for your box. For example, different standard paper stocks and cardboard thicknesses affect both production costs and the security of your item. Finally, with a few simple guidelines like proper folding techniques in mind, the crafting of a secure, eye-catching and durable custom reverse tuck box will be completed quickly and professionally.
Examples of successful reverse tuck boxes
Reverse tuck boxes have evolved into one of the most successful packaging designs for companies in modern retail. For example, popular snack food company Enjoy Life Foods produces a line of products that feature reverse tuck boxes due to their practicality and convenience when it comes to storage and transportation. They also provide an eye-catching display at the point of sale, increasing brand visibility which can be beneficial for marketing purposes.
Another example is the fragrance industry, where perfumes and are often sold in reverse tuck boxes with intricate graphics and instructions detailed along the side panels – making them an invaluable element of product presentation.
Overall, this smart packaging solution proves to be a viable option as it increases efficiency while delivering aesthetic appeal without compromising on durability or product safety.
Final Verdict
A reverse tuck box is a type of product packaging that allows for easy opening and closure, as well as tamper-proofing. This style of box is ideal for products that need to be shipped securely, such as food items or cosmetics. Creating a reverse tuck box is not difficult, but there are a few key steps you will need to follow in order to ensure your box turns out correctly.
The benefits of using a reverse tuck box include improved security during shipping, ease of use, and enhanced branding potential.