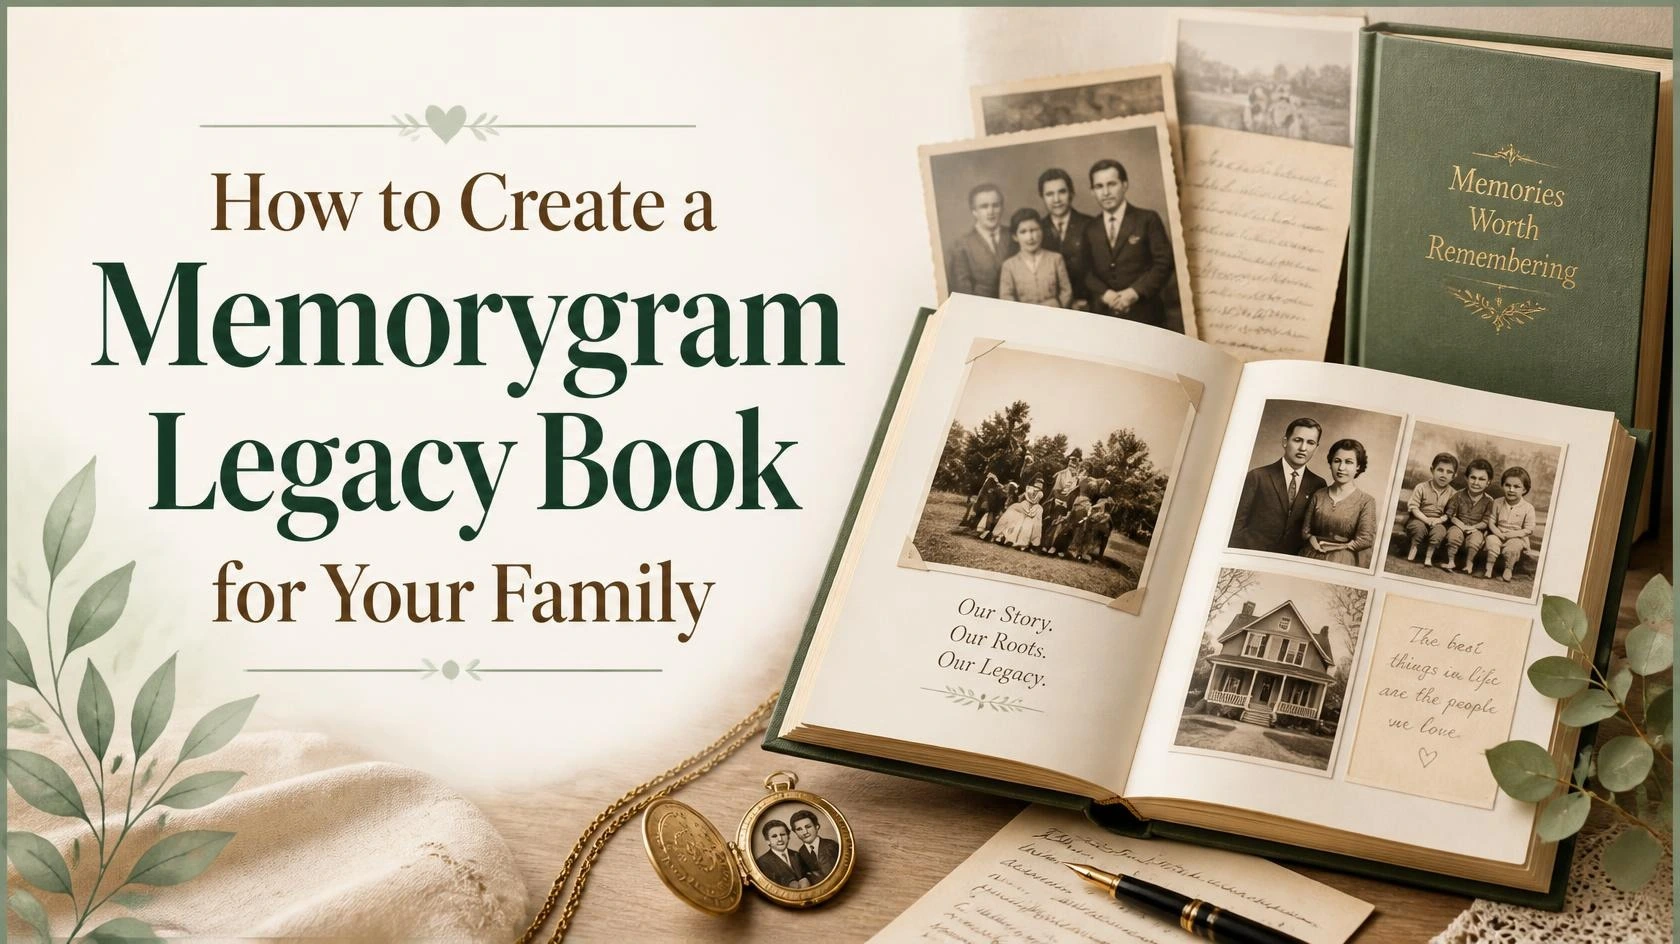
How to Create a Memorygram Legacy Book for Your Family
Every family carries stories worth saving — the sound of a grandmother’s laugh, the recipe passed down three generations, the handwritten letters tucked into a shoebox. A Memorygram Legacy Book gives those fragments a permanent home. Instead of letting memories scatter across phones, drawers, and fading photo albums, a legacy book brings them together into one meaningful keepsake your family can return to for years. If you’ve been thinking about starting one, here’s a complete walkthrough on how to create a Memorygram Legacy Book that truly reflects your family’s story.
What Makes a Memorygram Legacy Book Different
Before diving into the steps, it helps to understand why this format works so well. A Memorygram Legacy Book isn’t just a photo album — it’s a structured collection of memories, milestones, voices, and reflections designed to be passed down. It blends storytelling with keepsake-style presentation, so the people who receive it don’t just see pictures; they understand the people and moments behind them.
This combination of narrative and visual memory is what makes a Memorygram Legacy Book stand out from a standard scrapbook or digital photo folder.
Step 1: Define the Purpose of Your Book
Every Memorygram Legacy Book should start with a clear “why.” Are you creating it to celebrate a parent’s life story? To document your children’s early years? To preserve a grandparent’s memories before they’re lost? Defining the purpose early will shape everything else — tone, structure, and content.
Some common directions families take include:
- A full family history spanning multiple generations
- A single person’s life story (often created as a gift)
- A milestone-based book (wedding, retirement, a child growing up)
- A collection of letters, quotes, and reflections from relatives
Step 2: Gather Your Raw Materials
Once you know your focus, start collecting everything that could go into the book. This is often the most time-consuming part, so give yourself room to work gradually. Useful materials include:
- Photographs (physical and digital)
- Letters, cards, and handwritten notes
- Audio recordings or voice memos of relatives telling stories
- Important dates, locations, and family timelines
- Recipes, traditions, or sayings unique to your family
Don’t worry about organizing everything perfectly at this stage. The goal of this step is simply to make sure nothing valuable gets left out of your Memorygram Legacy Book.
Step 3: Interview Family Members
Some of the richest content in a Memorygram Legacy Book doesn’t come from old photos — it comes from conversations. Sit down with parents, grandparents, or older relatives and ask them to share memories in their own words. Record these conversations when possible, since tone and phrasing often carry as much meaning as the stories themselves.
Helpful prompts include:
- “What’s a memory from your childhood you think about often?”
- “What’s something you want future generations to know about our family?”
- “What’s a tradition you hope continues?”
These interviews often become the emotional core of the finished book.
Step 4: Organize Content into a Clear Structure
With your materials and interviews collected, begin organizing them into sections. Most families structure their Memorygram Legacy Book chronologically, but you can also organize it by theme — childhood, family traditions, major milestones, or individual family members.
A simple structure might look like:
- Introduction and family overview
- Early memories and childhood stories
- Major life events and milestones
- Family traditions and recipes
- Letters and personal reflections
- Closing thoughts or messages for future generations
Step 5: Write the Narrative
This is where your Memorygram Legacy Book comes to life. Rather than simply labeling photos, write short narratives that give context — who’s in the picture, what was happening, why it mattered. Keep the tone warm and personal rather than formal; this is a family keepsake, not a biography written for strangers.
If writing isn’t your strength, don’t worry. Focus on clarity and honesty over polish. The goal of a Memorygram Legacy Book is authenticity, not literary perfection.
Step 6: Choose a Format
Decide whether your Memorygram Legacy Book will be physical, digital, or both. A printed version offers a tactile, heirloom-quality feel that’s easy to pass down, while a digital version allows for easier sharing, audio integration, and future updates. Many families choose to create both — a printed keepsake for display and a digital backup for preservation.
Step 7: Design and Finalize
Once your content is organized and written, focus on layout and design. Keep pages uncluttered so photos and stories have room to breathe. Consistent fonts, color schemes, and spacing make the finished Memorygram Legacy Book feel cohesive rather than chaotic.
Before finalizing, review the book with other family members. They may catch missing details, suggest additional stories, or help verify facts and dates — ensuring the book is as accurate and complete as possible.
Step 8: Share and Preserve It
A Memorygram Legacy Book is most meaningful when it’s shared. Consider a small family gathering to unveil it, or send digital copies to relatives who live far away. For long-term preservation, store physical copies in acid-free materials away from direct sunlight, and back up digital versions in multiple secure locations.
Final Thoughts
Creating a Memorygram Legacy Book takes time, patience, and a bit of emotional vulnerability — but the result is something no photo app or social media feed can replicate: a lasting, personal record of who your family is and where they came from. Whether you’re preserving a single life story or documenting generations, the process itself often becomes as meaningful as the finished book. Start small, stay consistent, and let your Memorygram Legacy Book grow into the family treasure it’s meant to be.